Part 1 - The Basics
Welcome to the first part of this user guide to the Kryll strategy editor. A state of the art tool that allows you to build a trading algorithm with zero-coding experience needed. In this first part, we will introduce you to the interface and teach you how to use it so that you will be comfortable for the following short tutorials which will teach you how to create your first trading bot.
Retrouvez ce tutoriel en Français ici
Summary
Use this summary if you have missed the previous parts or want to move on to the next part
Kryll Editor: User Guide - Part 1 (you are here)
Kryll Editor: User Guide - Part 2
Kryll Editor: User Guide - Part 3
Kryll Editor: User Guide - Part 4 (coming soon)
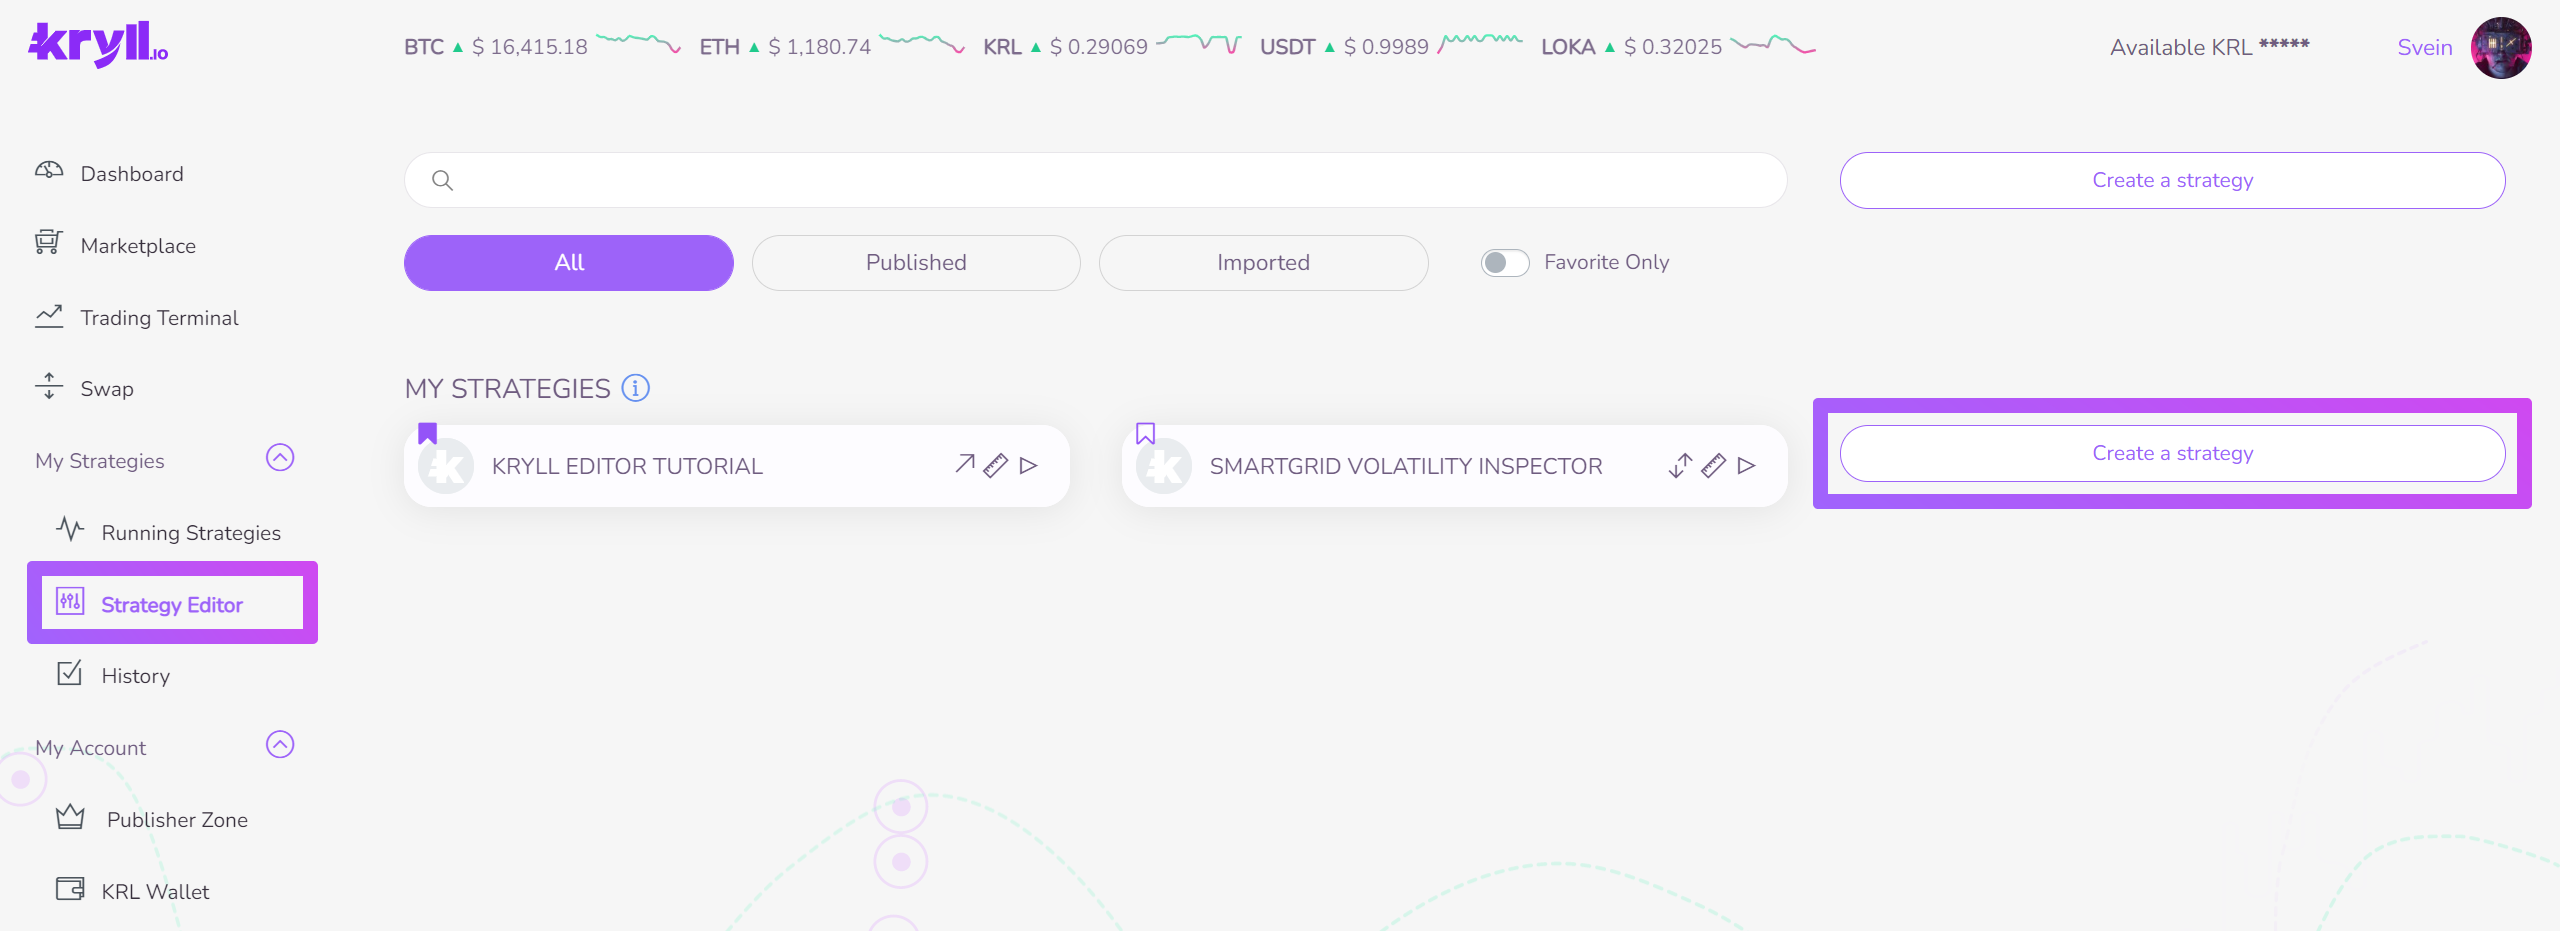
How do I access the editor?
To access the editor, login to platform.kryll.io, this will take you to the main menu where you will find the " Strategy Editor" section. Once in the appropriate section, you can click on "Create a new strategy" to access the editor.
Introduction to the interface
This is it, you're in! Welcome to the famous Kryll Editor, where all the strategies of the platform are born!
The editor is composed of four main elements:
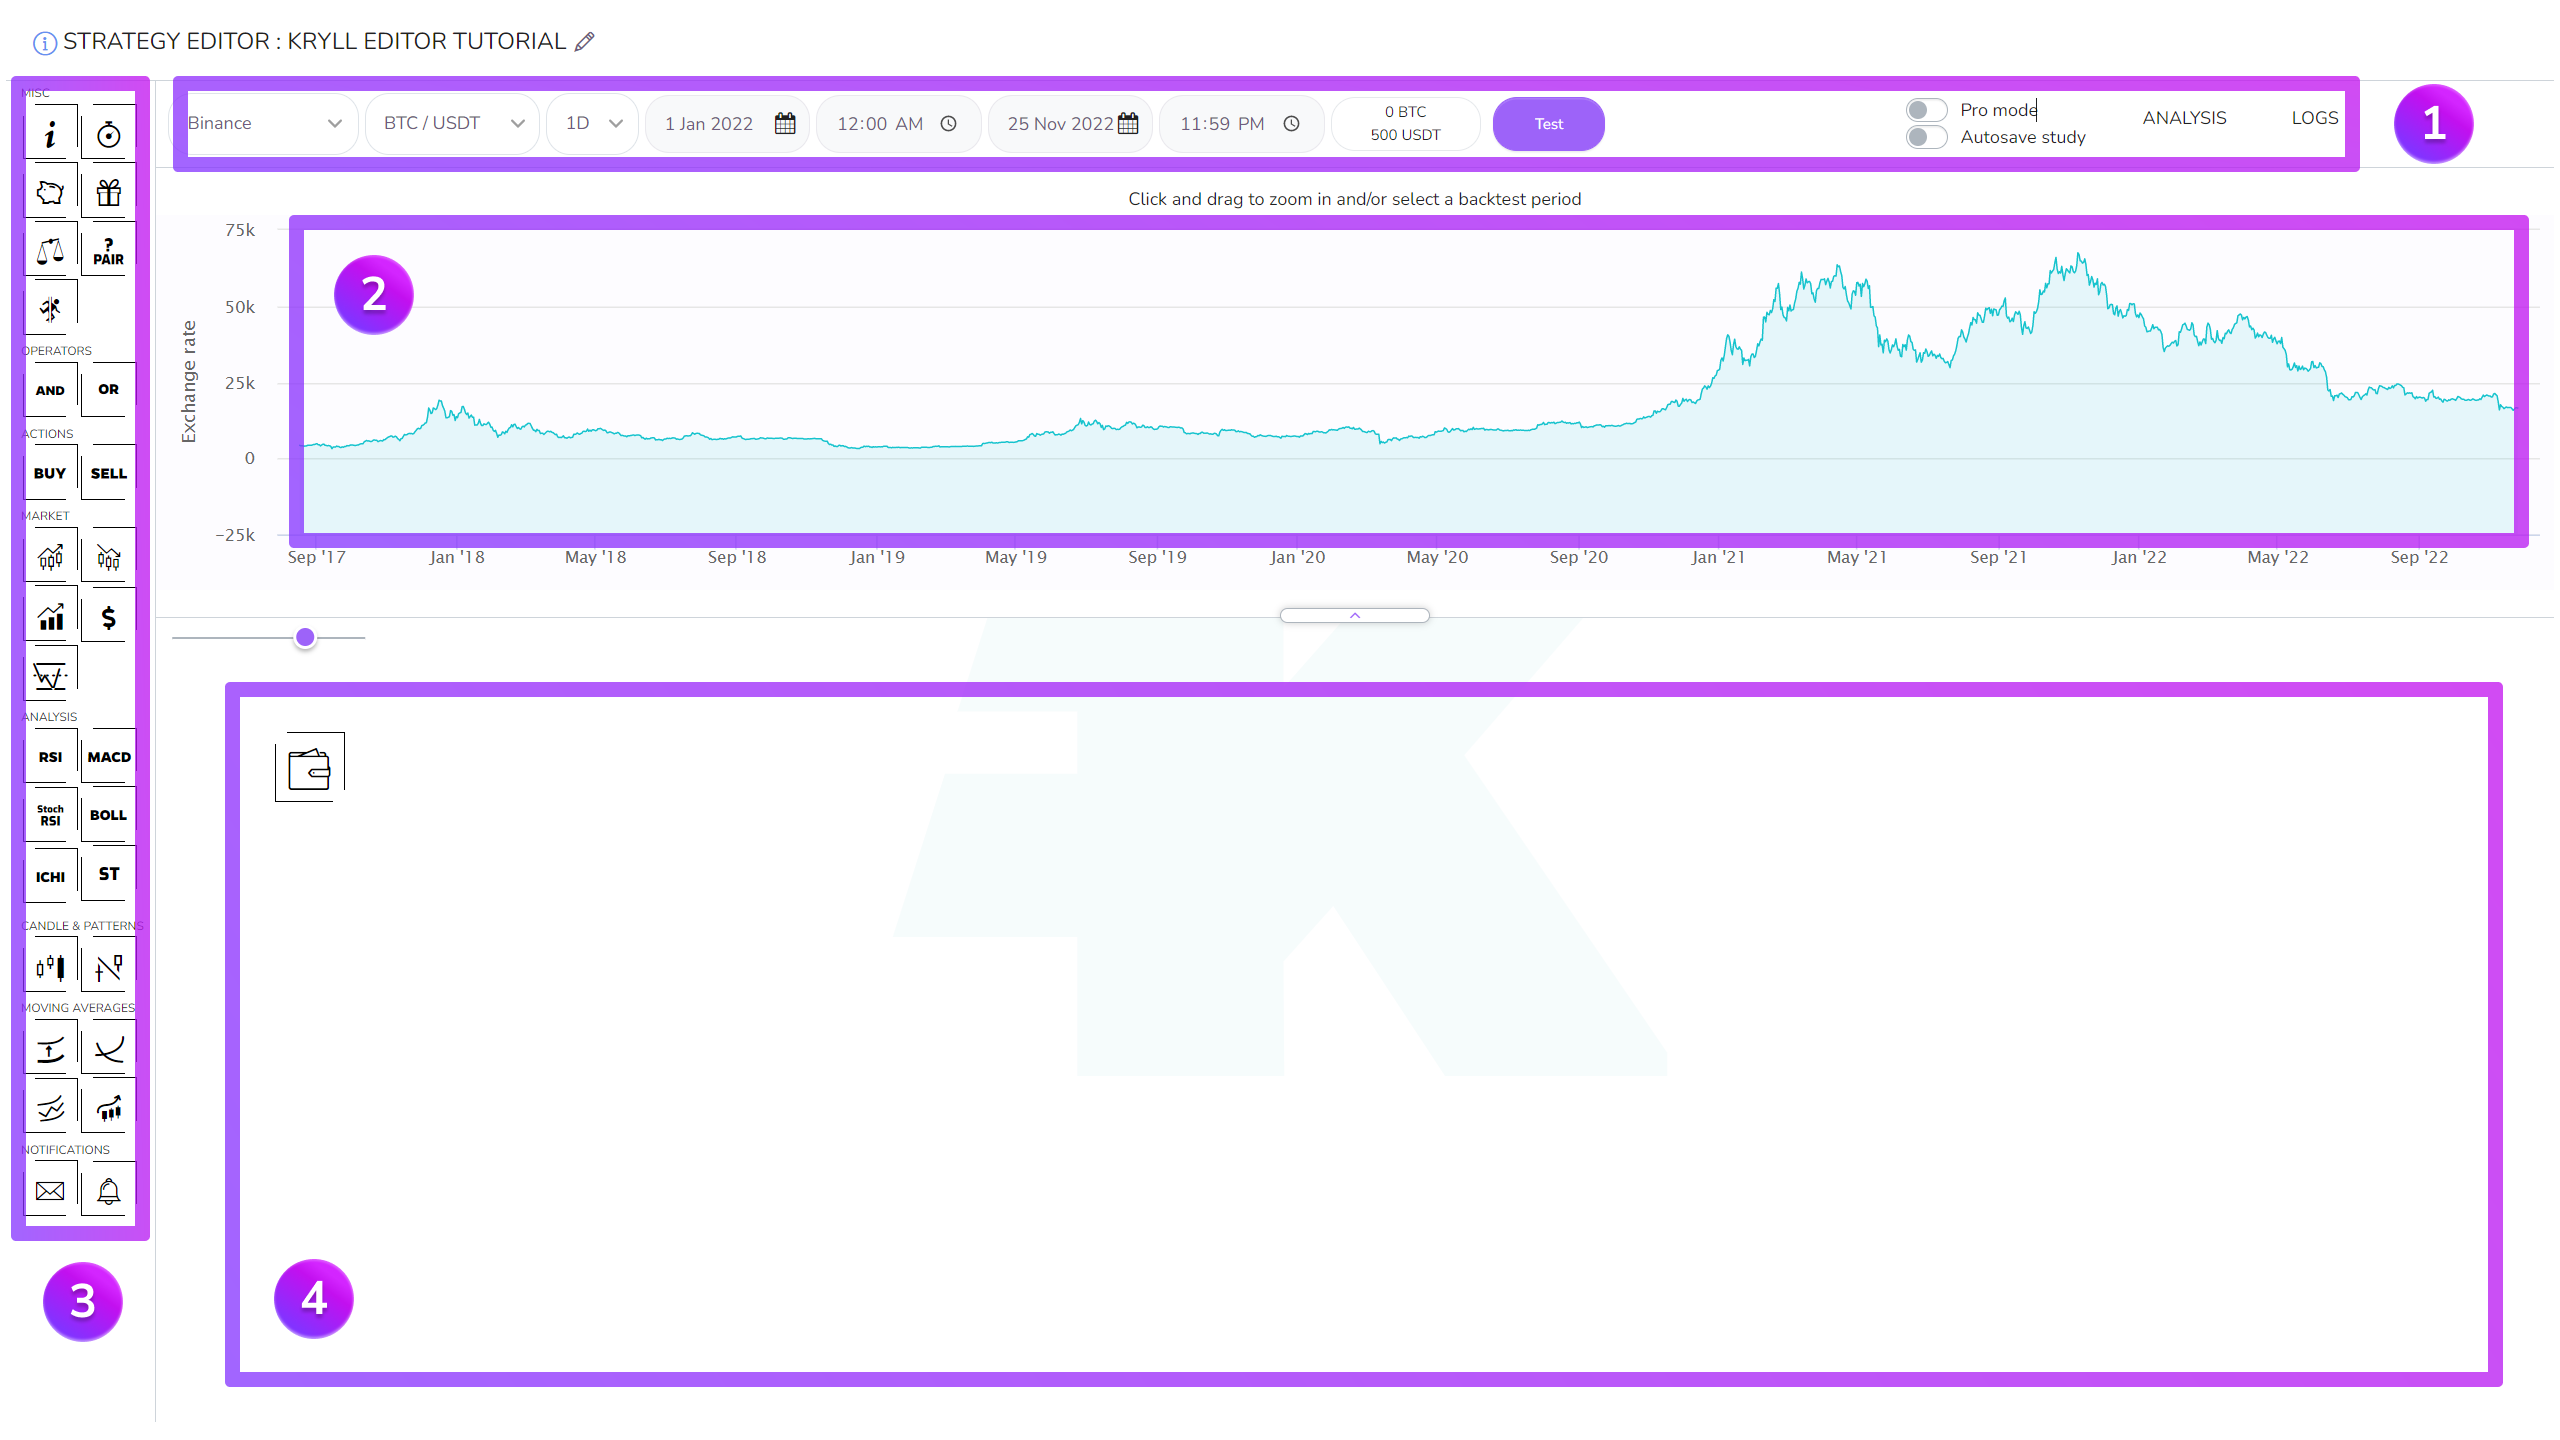

The settings bar
It allows you to change the pair displayed and the time unit on the chart, as well as to change the backtest parameters: the trade, the start and end date of the backtest and the portfolio content.
It also allows you to enable/disable the Pro mode (TradingView chart) and the automatic saving of analysis. (save added indicators, indicator settings and chart drawings)

The chart
This is where you will be able to view the indicators if Pro Mode is enabled as well as the positions taken from your automated strategies when backtesting.

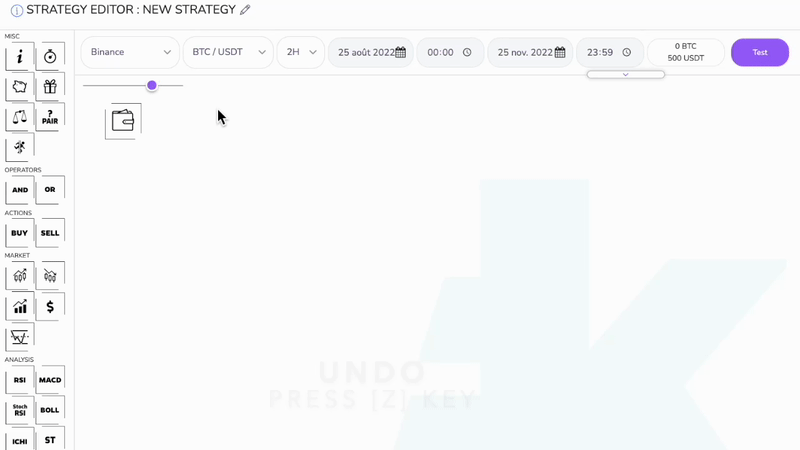
Block list
This is your tool kit! It contains all the indicators and all the logic blocks you will need for the design of your strategy. You can find the complete list and documentation of all available Kryll blocks here on: Block Bible

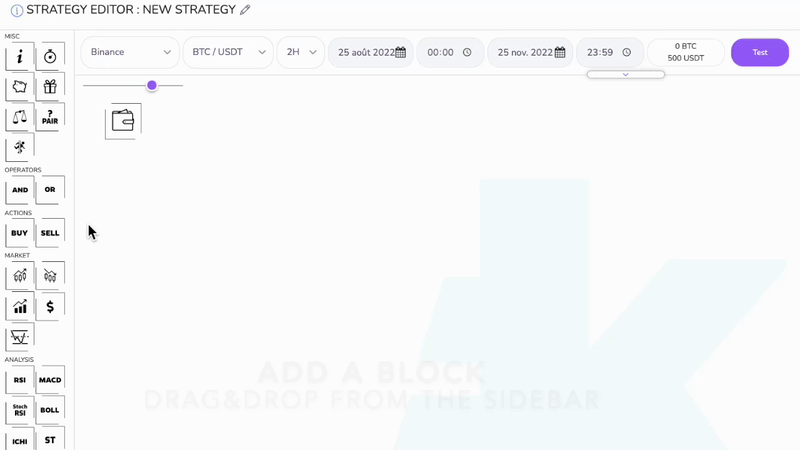
Editing area
After discovering your toolkit, here is the area that will serve as your workbench.
This is where you will be able to drop in your blocks, set them up and link them together to bring your strategy to life!
Now that you know a little more about the editor interface, we can move on to the next step.
How to interact with blocks?
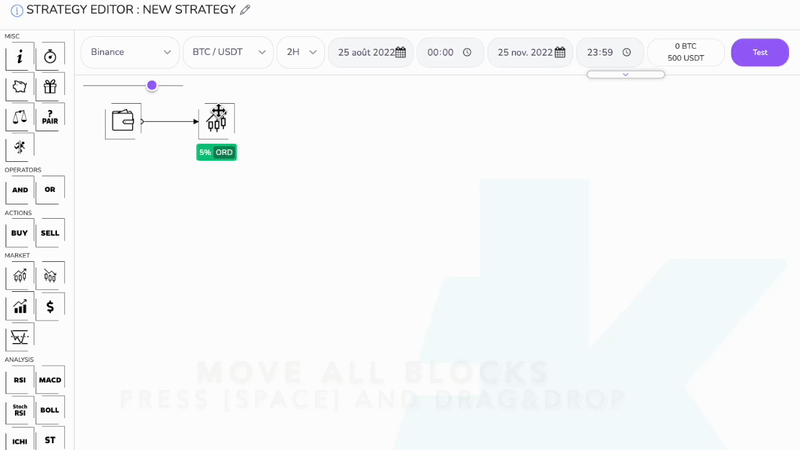
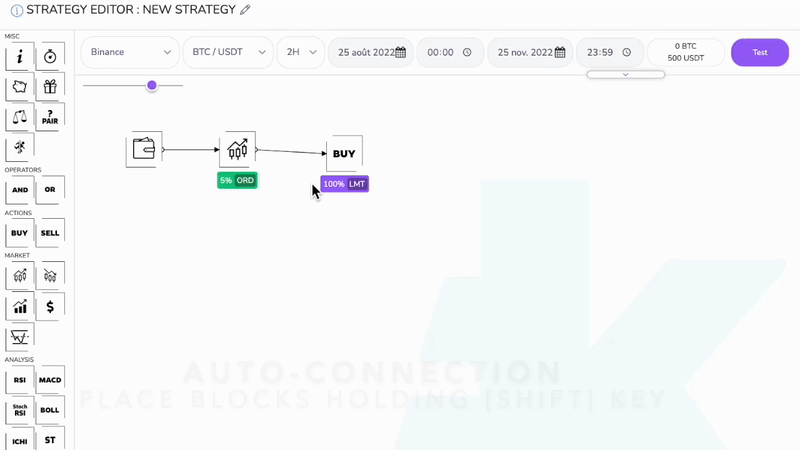
Drag & drop a block.
Click and hold on one of them in the block list, drag it to the editing area and release it on the workbench.
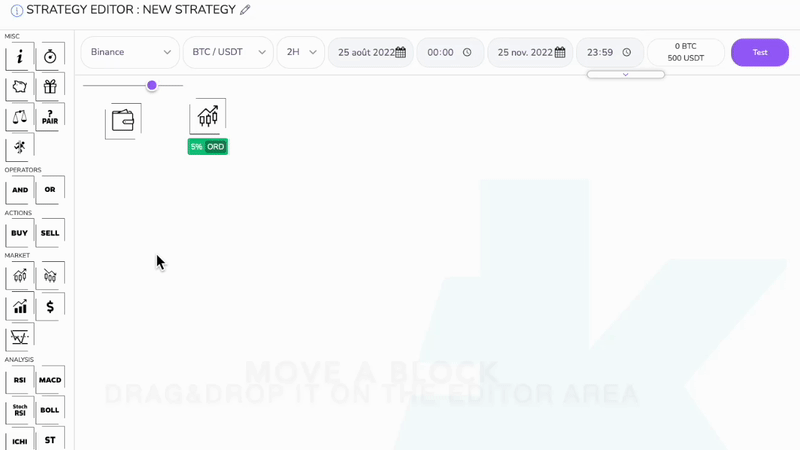
Move a block
Click and hold on the block to be moved, drag it and release the click at the desired location.
Selecting a block
Double-click on the block to be selected.

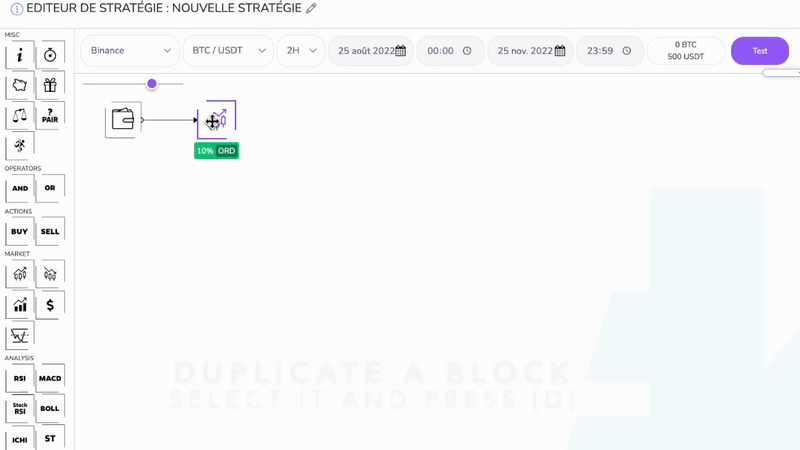
Duplicate a block
Duplicating a block can be very practical as the parameters of the block will also be copied, saving you a lot of time. To do this, select the block to be duplicated with a double click and press the D key on your keyboard.
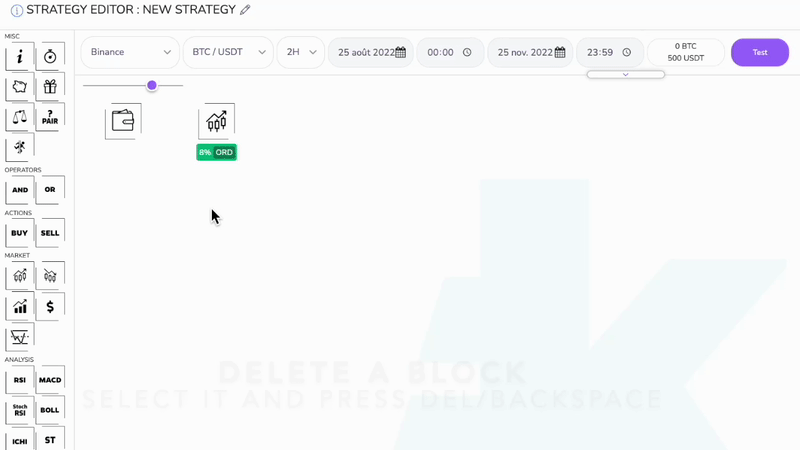
Delete a block
Select the block to be duplicated with a double click and press the DEL or BACKSPACE key on your keyboard.
Connecting two blocks together
Select the first block with a double-click and click on the second block. The order in which two blocks are linked defines the direction of the flow. This is indicated by the arrow at the end of each link.

Selecting a connection
Double-click on the connection to be selected or select the start block and click on the destination block.
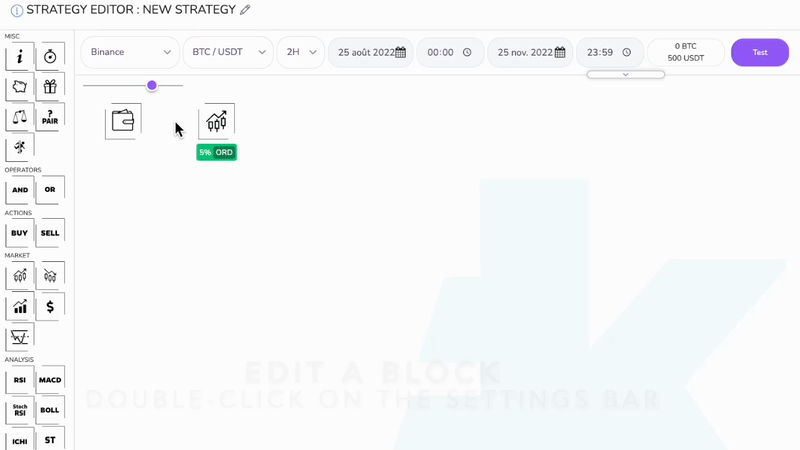
Open the parameter window of a block
Double-click on the settings bar below the block.
Going backwards / forwards
Press the Z key to go back, and the Y key to go forward.
Move all blocks into the editing area
Hold down the SPACE key and click and drag the blocks.
Automatic link on the last block
Hold down the SHIFT key while dragging a new block from the list and it will automatically be connected to the last added block.
You're finally ready! You can now go to part 2 from the summary below to learn how to create your very first strategy.
Summary
Use this summary if you have missed the previous parts or want to move on to the next part
Kryll Editor: User Guide - Part 1 (you are here)
Kryll Editor: User Guide - Part 2
Kryll Editor: User Guide - Part 3
Kryll Editor: User Guide - Part 4 (coming soon)

Happy Trading,
Website: https://kryll.io
Twitter: @Kryll_io
Telegram EN: https://t.me/kryll_io
Telegram FR: https://t.me/kryll_fr
Telegram ES: https://t.me/kryll_es
Discord: https://discord.gg/PDcHd8K
Reddit: https://reddit.com/r/Kryll_io
Facebook: https://www.facebook.com/kryll.io
Support: support@kryll.io